Requesting a W-9

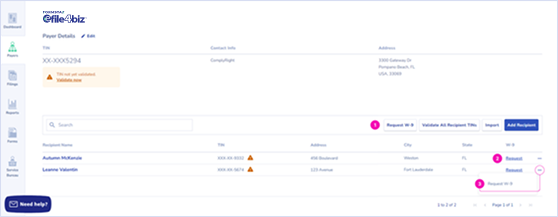
Log into your e-file account. From the dashboard, hover over the Payers tab and click on View All. Click on the payer's name to view any recipients saved under them. Within the Recipients grid, there are three locations where a request can get started: 1) via the 'Request W-9' button, 2) the 'W-9' column, or 3) through the additional options menu.
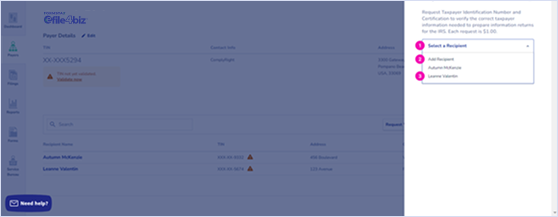
Clicking on the 'Request W-9' button 1) activates a slide panel with a dropdown menu 2) where a New Recipient can be added or 3) an Existing Recipient can be chosen.
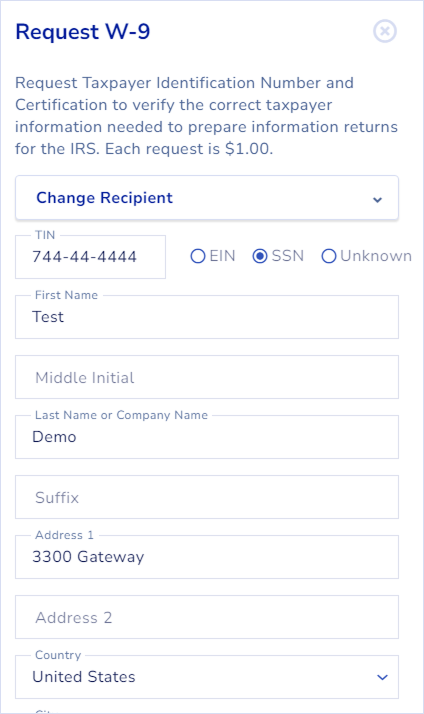
A Recipient created through the standard process with all the information required by the system such as TIN, Name, Address, etc. Email is required for recipient for the W-9 request.
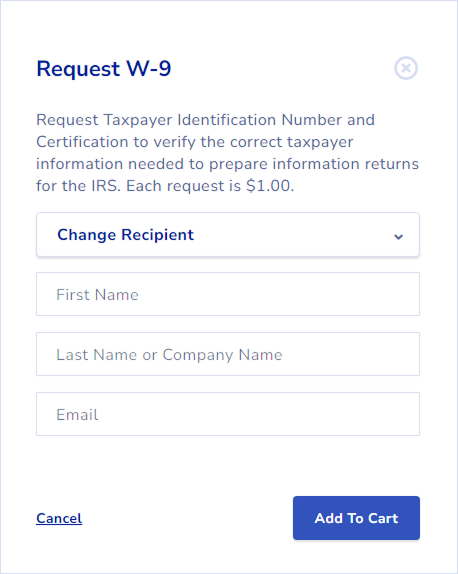
A Recipient to be created through the W-9 process for whom the payer may not have all the information required by the system. The Name and Email address are required.
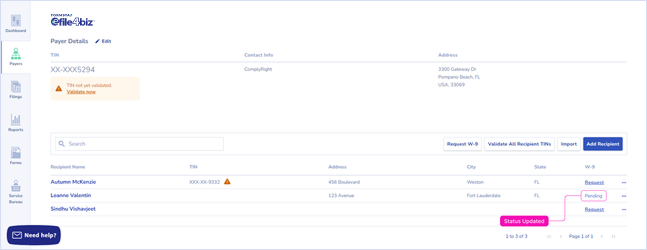
For existing recipients, a 'Request' option is displayed in the W-9 column. This option activates a slide panel with pre-populated fields for the selected recipient. After a W-9 request is added to cart, the status on the W-9 column is updated to “In Cart”.

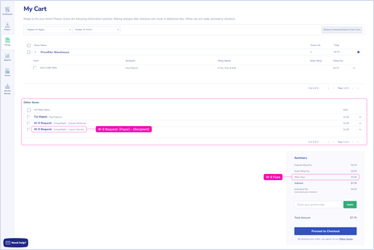
W-9 Requests in Cart can be found in the Other Items section. Click on the Proceed to Checkout button to continue and complete the checkout process.
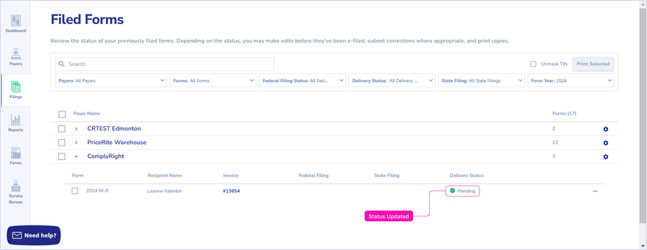
After a W-9 Request is checked out, the status in the Payer's profile and Filed Forms pages is updated to “Pending” and an email is then sent to the recipient.
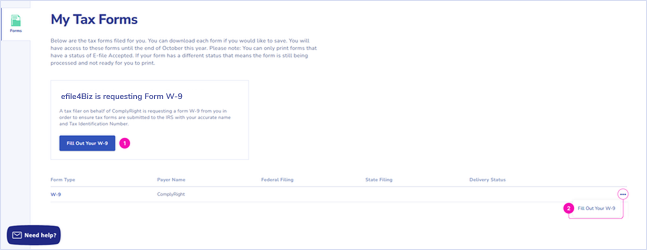
There are two locations in the Recipient's My Tax Forms page where a User can access their W-9: via 1) the 'Fill Out Your W-9' button, or 2) through the additional options menu of the W-9 row.
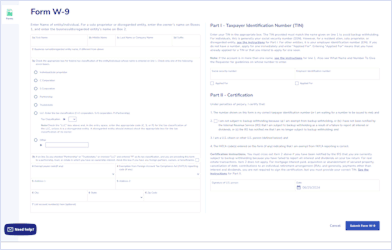
Form W-9 is displayed for the recipient to fill out. The fields for both Existing and New Recipient requests are blank for them to fill in. All entered information will be saved to update any incorrect information saved to your account.
Note: All images are from test accounts created for this purpose.
Free to try.
You only pay when you're ready to file.